Blogger Girls Block of the Month II - Block #3
Happy March! Here's hoping March's weather will be a bit less cold and snowy here in the midwest. It's time for block 3 and here it is.
This block is designed by Sherri from A Quilting Life. If you don't know, Sherri is a very talented designer and is a wonderful, sweet lady. Hope you enjoy making her block.
Block #3: Sherri's Block
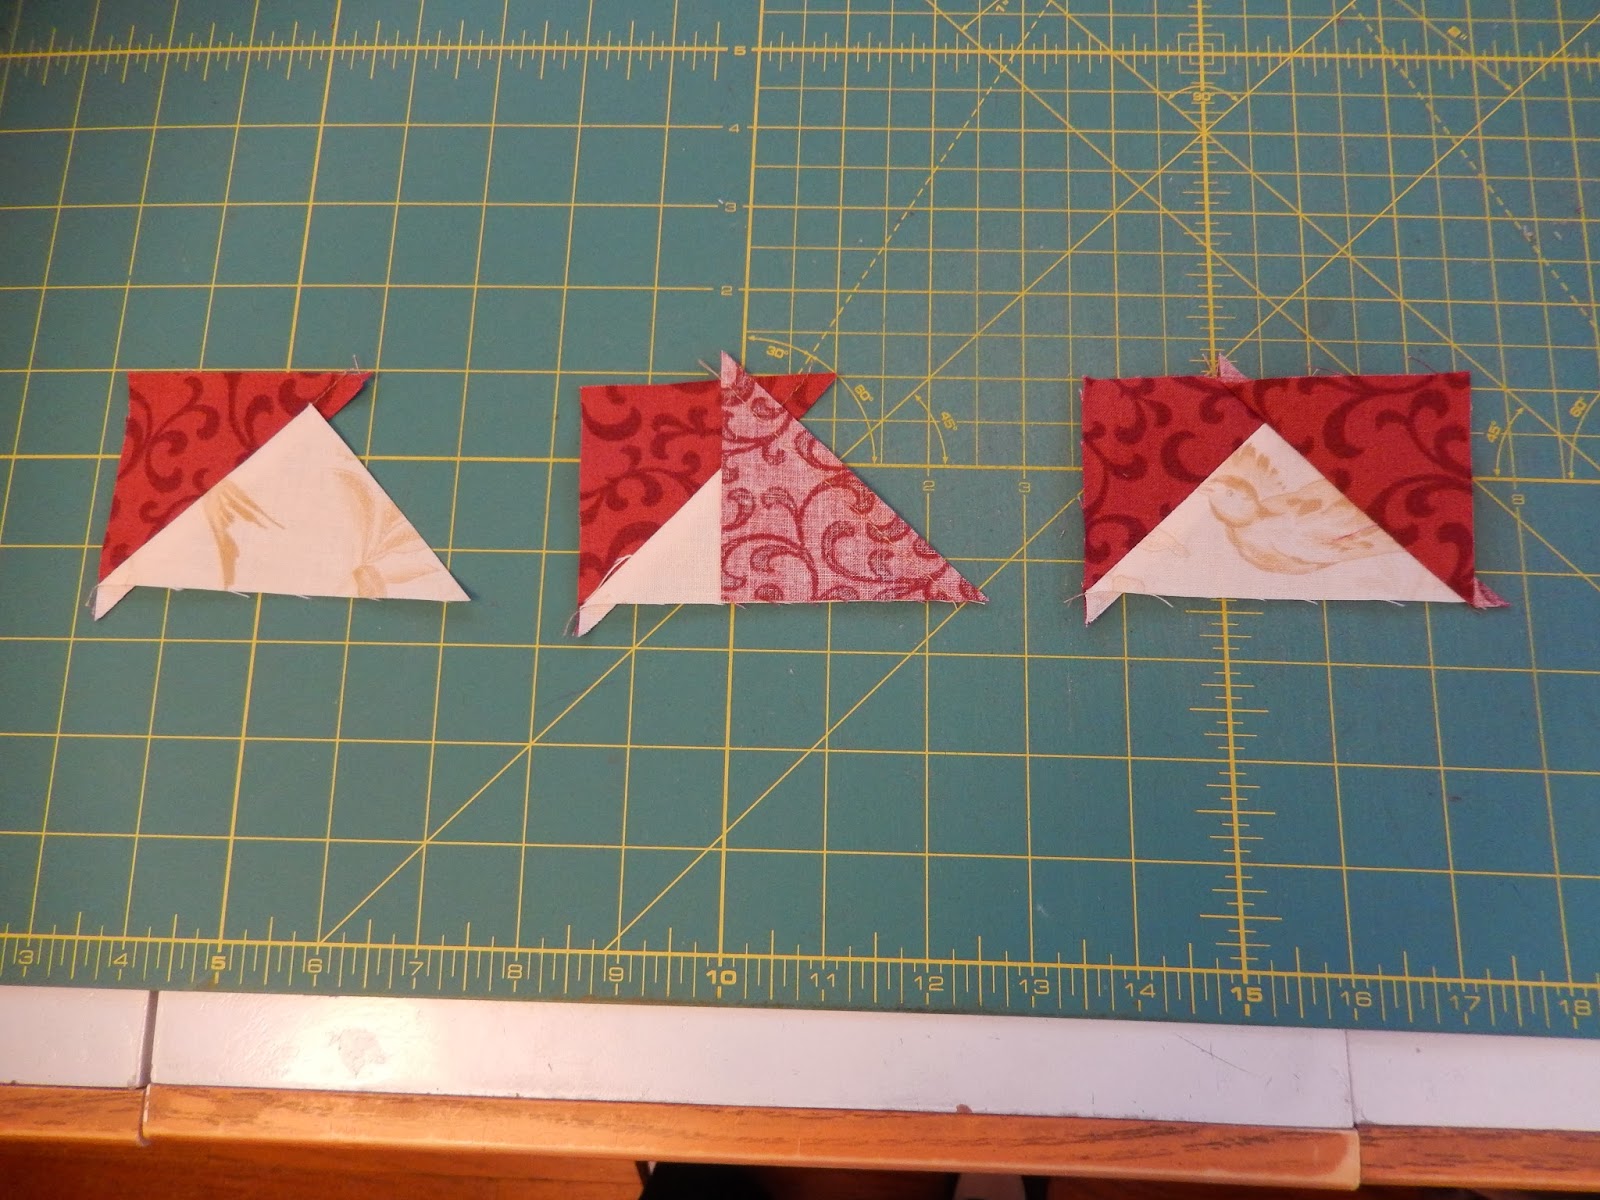
The first thing that we do is make our flying geese with the main background and red.
Once you have 4 flying geese made, trim them using the Mini Fit to be Geese ruler. The nice thing about the Mini Fit to be Geese ruler is that you can trim two sides at once. Line up the roof top of the ruler along the seams. Trim two sides. Rotate, line up the cut edge with one side and the bottom with the 2 x 3 1/2" mark on the ruler. Complete all 4.
Make 4 half-square triangles using the light and the green, squaring up to 2". Put them together to form the center.
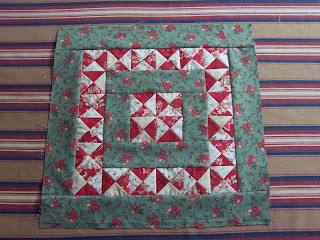
Sew the block together in rows and there you have Block #3!
The second version of Block 3 is below. Totally different looking.
Hope you enjoy making both versions of Block #3.
Don't forget to check out the other participating bloggers posts:
Sherri from A Quilting Life - aquiltinglife.blogspot.com
JoAnne from A Patriotic Qulter - http://thepatrioticquilter.blogspot.com/
Lissa from Moda Lissa ~ ModaLissa.blogspot.com
Denise from Quilter’s Window ~ Quilterswindow.com/blog/
Jodi from Pleasant Home ~ www.pleasant-home.com/
Thanks for stopping by!


Comments